This is a continuation of my "Everyday Makeup" post from last week. Go HERE if you would like to see my makeup from the very first step :)
This is how I turn my Everyday Makeup to My Night Time makeup.

Step 1: Highlight

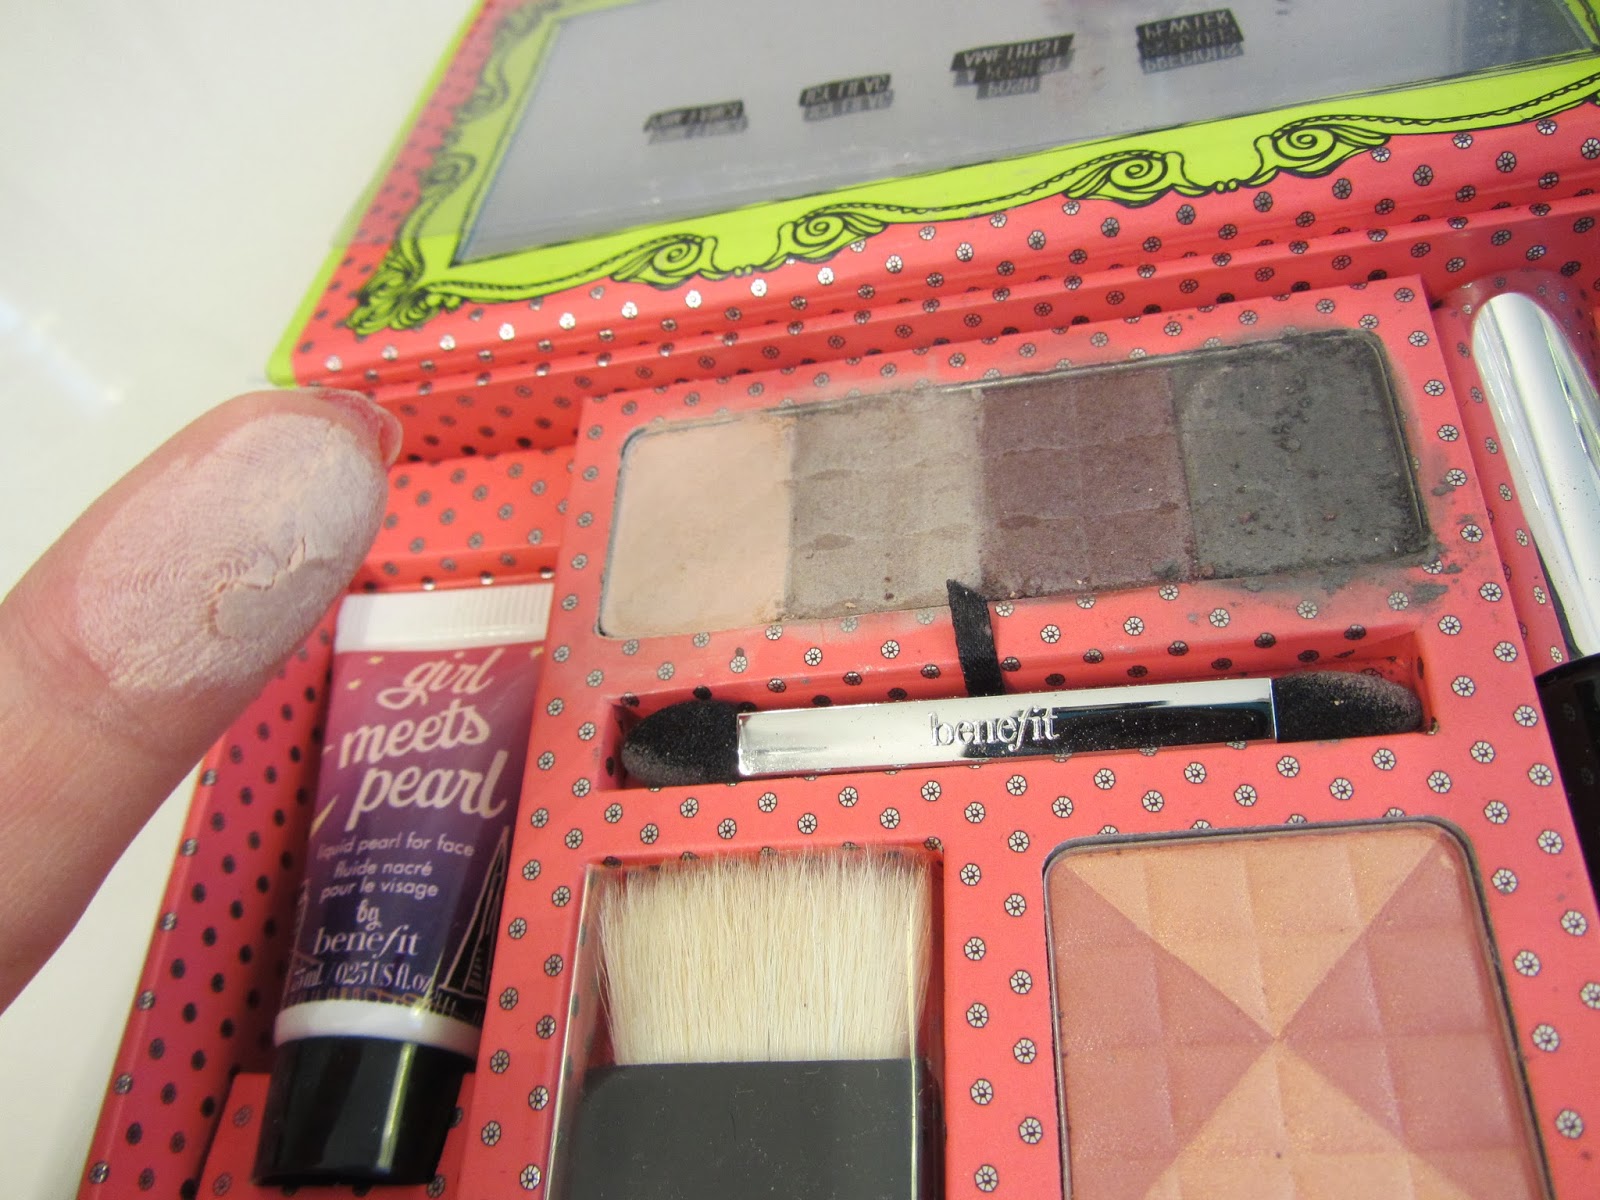
I use this cheap-y eye shadow set for highlight. You can buy makeup products just for highlight but I find that eye shadow with a bit of shimmer works great and it is usually a lot cheaper.
For the winter I tend to go with a white shimmery iridescent color and the pale gold shimmery during the summer months.
Also you should find one that has a bit of shimmer NOT large flecks of glitter.

The basic concept of highlight is to call "attention" to certain parts of your face. It "tricks" the eye by making those areas on your face more prominent because of the shimmer. (Important if you have flat pancake face like me lol!)
I put highlight on my cheekbones (to create the illusion of higher cheekbones), on my temples (a smaller more oval shaped face), on my forehead (it pulls attention to the center of your forehead creating the illusion of a smaller face), the center of my nose (to create the illusion of a thinner nose), right underneath the brow bone (to give you more depth in the eye area), cupids bow (to make your lips look pouty), and finally my chin (to give the illusion that the chin is pointier.)
And blend, blend, blend!

Here you can see distinctively see the highlighter on my cheekbone, blush at the front, and bronzer in the hallows of my cheeks.
 |
| Maybelline Define-a-Line in Ebony Black |
Step 2: Eyeliner

I use this to line the OUTER part of my my lower lids. I only line it about halfway because if I line the whole thing I find it actually makes my eyes look smaller. Here my right eye is lined and my left one isn't.

Here both sides are lined and smudge the liner so it's not as harsh.
 |
| Wet & Wild Pencil in White |
I use to white eyeliner to line the FRONT of my bottom lids.

Here you can see that the front of my bottom lids are lined w/ the white to help open my eyes.

Step 3: Powder Foundation
I do a quick dusting of this to "set" my liquid foundation as well as go my bronzer, blush, highlight & eyebrows to make everything look "softer" and less harsh.
 |
| Guerlain Meteorites in Claire |
Step 4: Illuminating Finishing Powder

I swirl the brush a few times and then lightly dust it all over my face. It gives your skin that "radiant" glow and creates a sort of "soft" focus with the iridescent shimmer.

Step 5: Setting Spray
This is probably my Holy Grail out of my entire makeup arsenal. I really don't know how I lived my entire life without this (especially in Hawaii.. humidity + my club
I spray it in a "X" formation on my face and it completely sets my foundation for the entire day. I find that I almost never fix my foundation/eyeliner anymore. I use to take out my blotting paper and re-powder at least 1x (sometimes 2x a day if I was running from work to HH or to my 2nd job) a day but I find that I maybe only touch up once every few months and it's really only during the hot summer months now.

And Finally...
Step 6: Falsies
(I got lots of requests about how I do this! So here you dolls go :)!

As always falsies/lash extensions ect is very personal if you have GORGEOUS natural lashes then by all means. However I'm definitely not blessed in that area so Falsies are my best friend! lol!
I try and re-use my false lashes 2 to 4 times. I don't use the entire lash strip because I've found (after lots of trial and error!) that using the ENTIRE lash strip actually causes my eyes to look very "heavy". It actually makes my eyes look smaller (and sleepy) which sort of defeats the purpose of falsies which is to have huge doll eyes of course!

I cut off roughly 1/3 of the falsies in the FRONT not from the back like most ppl do. And the reason for that is because if you cut from the back then you're cutting off the longer flairs. The longer flairs "open" your eyes up - that coveted "almond" shape giving the illusion that your eyes are longer and wider.

I like to use black eyelash glue because when I use white/clear glue I tend to find that I almost always have to go back over with liquid eyeliner. I put a thin layer and then I put two extra little "blobs" on both ends because those are the first places to come undone.

Here you can see my right eye has the falsies on and my left one doesn't.
I also glue my falsies SLIGHTLY about my lashline. I find that it helps to open up my eyes more. I know everyone says to apply them directly onto your lashline but with eyeliner it can really cause your falsies to disappear and I find that by gluing them slightly higher the lashes are more apparent.

And here they're both on!

Then curl your natural and false lashes together!
(Lol excuse the mess behind me I was in the middle of cleaning out my closet for donation which resulted in the mess in the back..)

And that's it's!

If it's a special occasion or GNO I might go a little heavier on the eye shadow ect but for the most part this is pretty much my go to night routine.

And that's it from the very 1st step to the last!
I hope this was helpful and that you dolls enjoyed this!
Let me know if you have any questions and if you try any of this and how it went for you :)
I hope this was helpful and that you dolls enjoyed this!
Let me know if you have any questions and if you try any of this and how it went for you :)
Disclosure - All of these were my own products and I am not being reimbursed for this in any way shape or form. Cha Cha Cha!