
Hi! I've gotten a few requests for how I do my makeup so here we go!
I just want to preface this by saying I'm not a beauty blogger ect. (and there are some SERIOUSLY amazing ones out there that I'm in awe of!!)
I've never taken makeup classes or anything it's just sort of what I've learned from trial and error over the years. So I just wanted to share with you dolls how I'm doing my makeup right now :)
 |
| Bath & Body Works anti-bac, Clear Eyes Maximum Redness Relief, SK-ii Essential Power Cream, Smashbox Photo Finish Light, Carmex Lip Balm |
Ok let's get started!
So for me "prep" is REALLY important. Especially now that I'm 30 (eeps!) I definitely feel like my age is catching up to my skin ect more these days then ever before.
Step 1. Hand Sanitize (I'm a germaphobe.)
Step 2. Eye Drops
Step 3. Moisturize
Step 4. Prime
Step 5. Lip Balm (doing it at the being moisturizes your lips so that at the end your lipstick glides on a lot smoother.)

A dime sized amount of Primer and then I dot it basically in my T-Zone (in other words wherever I have giant pores lol!)
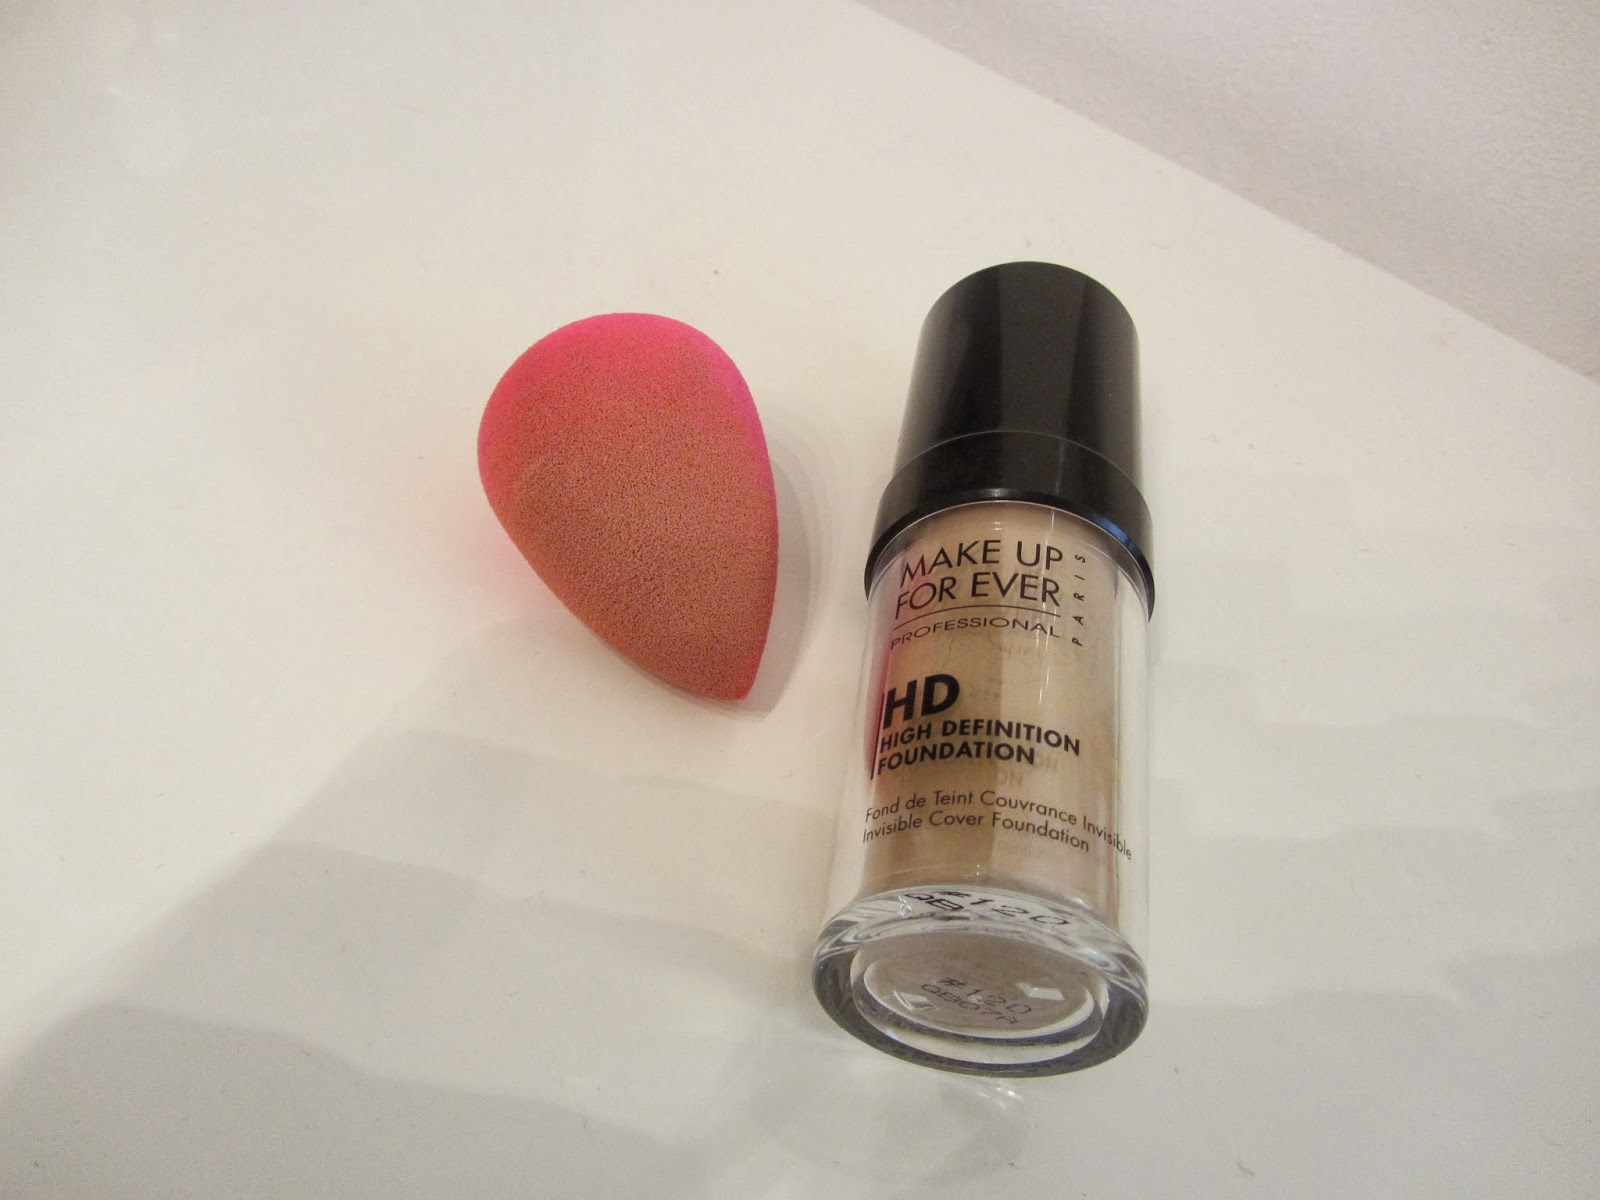 |
| MUFU HD Foundation & BeautyBlender |
Step 6: Foundation.
The BeautyBlender has COMPLETELY transformed my life. I actually resisted getting it for like I think a good year even though I kept seeing/hearing about it on blogs/vlogs/magazines.. because I'm an old fart and and don't like change. But a girlfriend actually gave it to me as a birthday gift and let me just tell you it's AMAZING! I use to always use a foundation brush and would get these awful streaks but no more!
Also since you're actually suppose to use it wet I always take it to the bathroom and squeeze some baby soap in it and give it a few good squeezes before I put on my foundation so it's basically "clean" every time I use it. Definitely cleaning it more then when I used foundation brushes lol.

Also because you use it wet I found that one good pump of foundation is all I need whereas before I would probably use at least 2 pumps if not more. Which usually leads to really cakey looking skin. Bleh!

I basically dot it in the same places that I dotted my primer.

And from there on out I blend outwards and dab dab dab!
 |
| Yves Saint Laurent Touche Eclat |
Step 7: "Concealer"
The reason for the quotation marks is because the YSL Touche Eclat I think is really more of a "brightener" and less of a concealer. It reflects light so that it basically "tricks" the eye from seeing the dark shadows ect. Versus a real concealer that is actually truly concealing.

I use it it in area's wherever there are dark shadows - if you need help finding them I always tilt my head slightly forward and look directly in the mirror and the shadows on your face will become very apparent.

And then just use the BeautyBlender again to blend it all into your foundation. Also make sure when you're doing concealer to dab do not rub it in.
 |
| Too Faced in Chocolate Soleil |
Step 8: Bronzer
I like to use a non sparkly bronzer for face contouring.
(And my face needs it as I basically have a wide flat pancake face lol.)

For the sake of showing you guys how I do my bronzer/blush I was a little more heavy handed then usual. But don't worry all of this just gets blended out later on :)
I use the "E-3" formation. Start at the temples swoop down to the hallows of your cheek and then on to your jawline.
 |
| Nars Deep Throat |
Step 9: Blush

For reference the right side has blush on and the left side doesn't. I apply it in a sweeping motion on my apples and into where I bronze.

Here you can see quite distinctively where my blush and bronzer are and then I blend the two of them together.
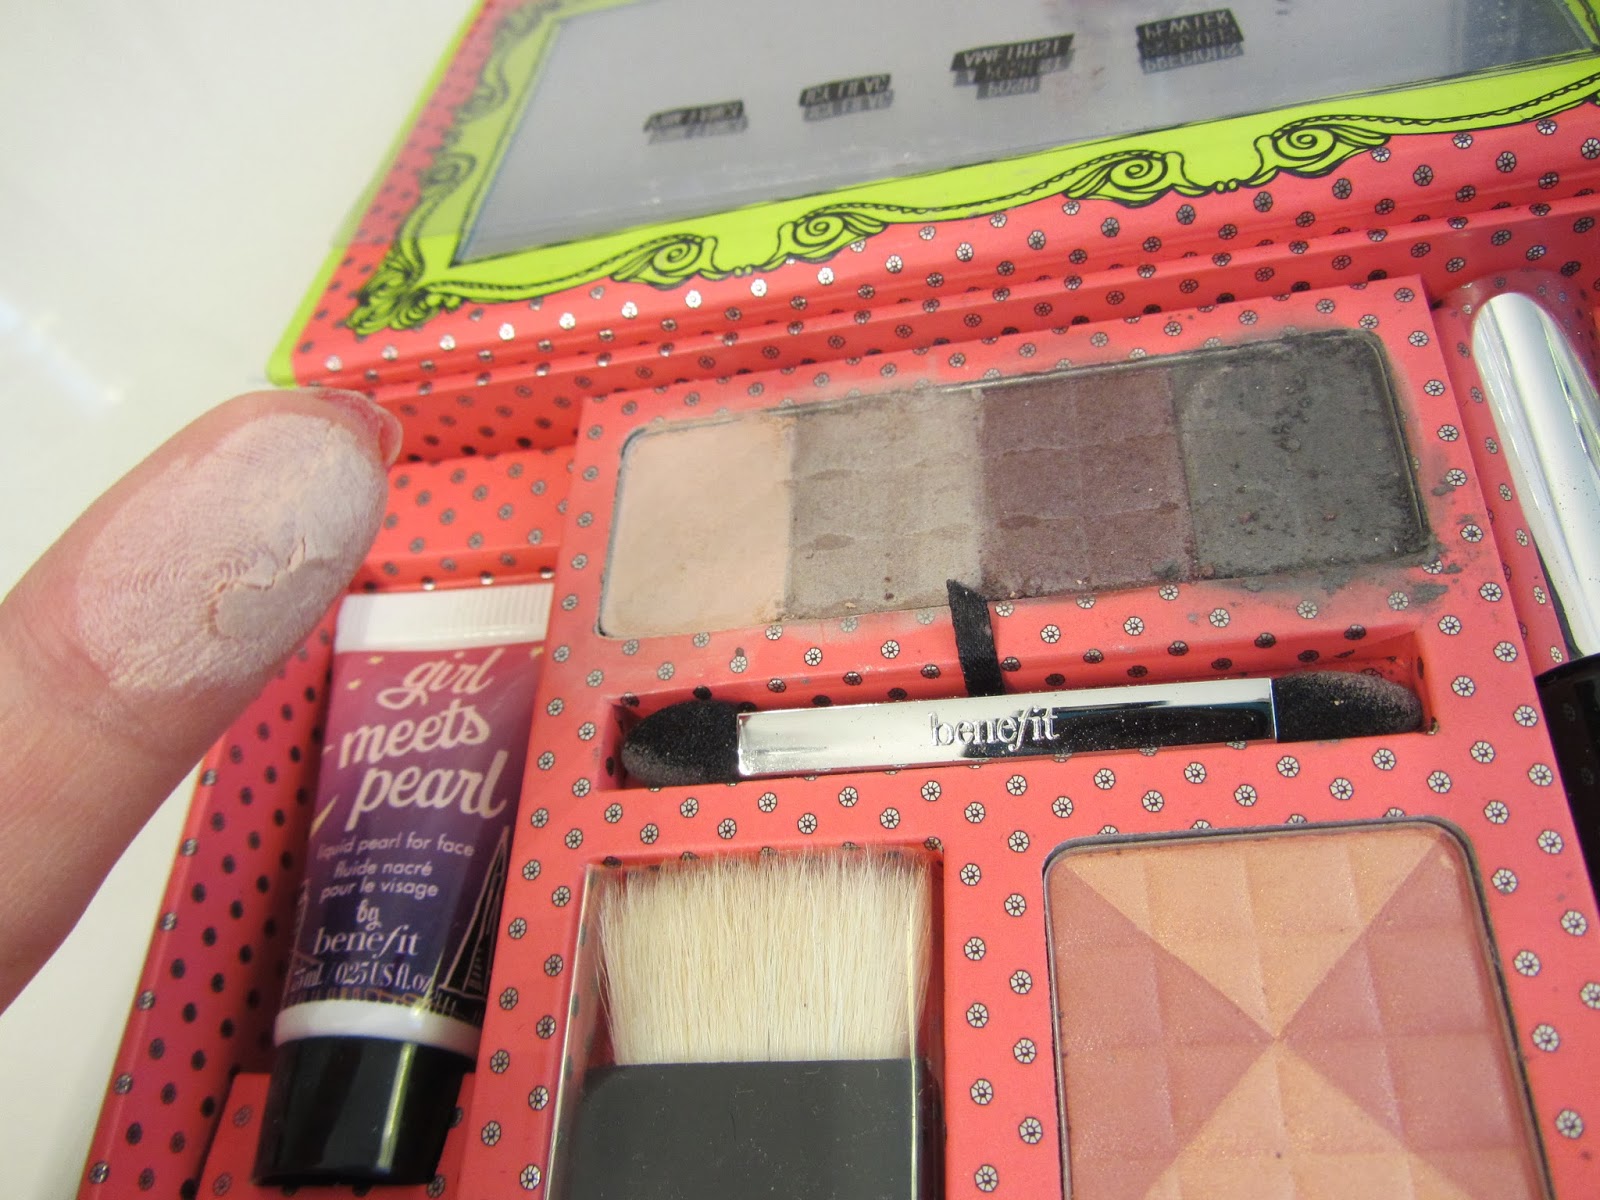 |
| Benefit Glam Girl Palette |
Step 10: Eyeshadow
A nude neutral shimmery color and sweep it all over my eyelids.

And then a darker purple/grey/taupe color underneath my eyelid line.

For reference the right hand eye has the shimmer nude and purple shadows on already.

Step 11: Eyeliner

I start by drawling a line in the middle my eyelid and then extend it further past my eyes. (Btw I don't waterline/tightline because my eyes are small and I think it make my eyes look even smaller)


And then I fill it in for a cat eye.

 |
| Maybelline eyebrow pencil in Med Brown |
Step 12: Eyebrows
As for my eyebrows.. let's just say they are a constant work in progress!
I wouldn't say I necessarily LOVE LOVE my brows now but I think I'm getting the hang of it more and more these days.

And as proof I dug up some photos of my early 20's
Let's call this the "Best of Brows"
(OBVIOUSLY sarcastic lol)

YIKES!!!
So as you can see I didn't just have ONE type of bad brows.. I had several bahahaha... not to mention bad eye shadow.. bad eyeliner.. bad foundation.. ect.
Ok and with that little detour down memory lane this concludes how I do my everyday makeup.
Stay tune for Part 2 - Taking my Everyday makeup to Night time makeup!
Disclosure - All of these are my own products (except for the Benefit palette which was gifted to me by American Express) and I am not being reimbursed for this in any way shape or form. Cha Cha Cha!
