If you can do a simple French Braid you can do this tutorial (but if you're not sure this is a great french braid how to video!)
This tutorial is awesome because it uses the same basic foundation and then branches off into 3 different hairstyles! Hence 3 looks in 1!
I'll be breaking this tutorial into 3 parts to show you how.
HAIR STYLE #1

Start by curling your hair.
I use hot rollers (you can view the tutorial I did on how to curl your hair w/ hot rollers HERE.)
But you can use curling/flat iron whatever you prefer to use when you curl your hair.

Once your hair is curled you're ready to begin!

Start by portioning out some soft face framing tendrils in the front of your face. This will help with the overall soft and romantic feel of the look.

Then on your left side take a small bunch of hair at the crown of your head.

And french braid that bunch.

Continue to braid it all the way down down as far as you can braid it and then secure with a tiny elastic.

I prefer using the same colored elastics as my hair color.

Now take a 2nd small bunch of hair roughly the same size as your 1st on the same side but from the bottom left nape of your neck.

French braid the 2nd bunch all the way down as well.

And secure with elastic as well.
Front

Side

Back

Now take your 2 tiny french braids and the rest of your remaining hair that is un-braided take it to the RIGHT side of your neck and french braid it together.
Basically your unwoven remaining hair acts as braid #1, and your 2 french braids each act as braid #2 & #3 respectively.

When you've braided it as far as it goes secure it with elastic as well.

Front.

Right Side.

Left Side.

Back.

With hairstyle #1 it doesn't look like anything special from the front but I just ADORE how it looks from the back!! (And yay you can totally see my white hair! I'm 30 ok? :)
HAIR STYLE #2
 |
| P.S. Shoutout to my MD girls for my House of Harlow ring! :) |
Now if you prefer to be able to see the intricate weave work in the FRONT and don't care about the back. This one is for you.
This starts off the same w/ the 2 french braids.. and the left over unwoven hair. Keep everything on the LEFT side.. the same side you braided your 2 french braids (this is different from Hairstyle #1 because in #1 you move EVERYTHING to the right side whereas this one you stay on the left.)

And then you just braid it all together as a french braid the same way you did Hairstyle #1.

This one shows up in the front because the 2 tiny french braids you made were braided on the left side so they're "longer" whereas in hairstyle #1 you pull them over to the right side so the 2 tiny french braids get woven into the back and you can't see it as well on the front because you technically "run" out of hair by the time it gets to the right side.
HAIR STYLE #3

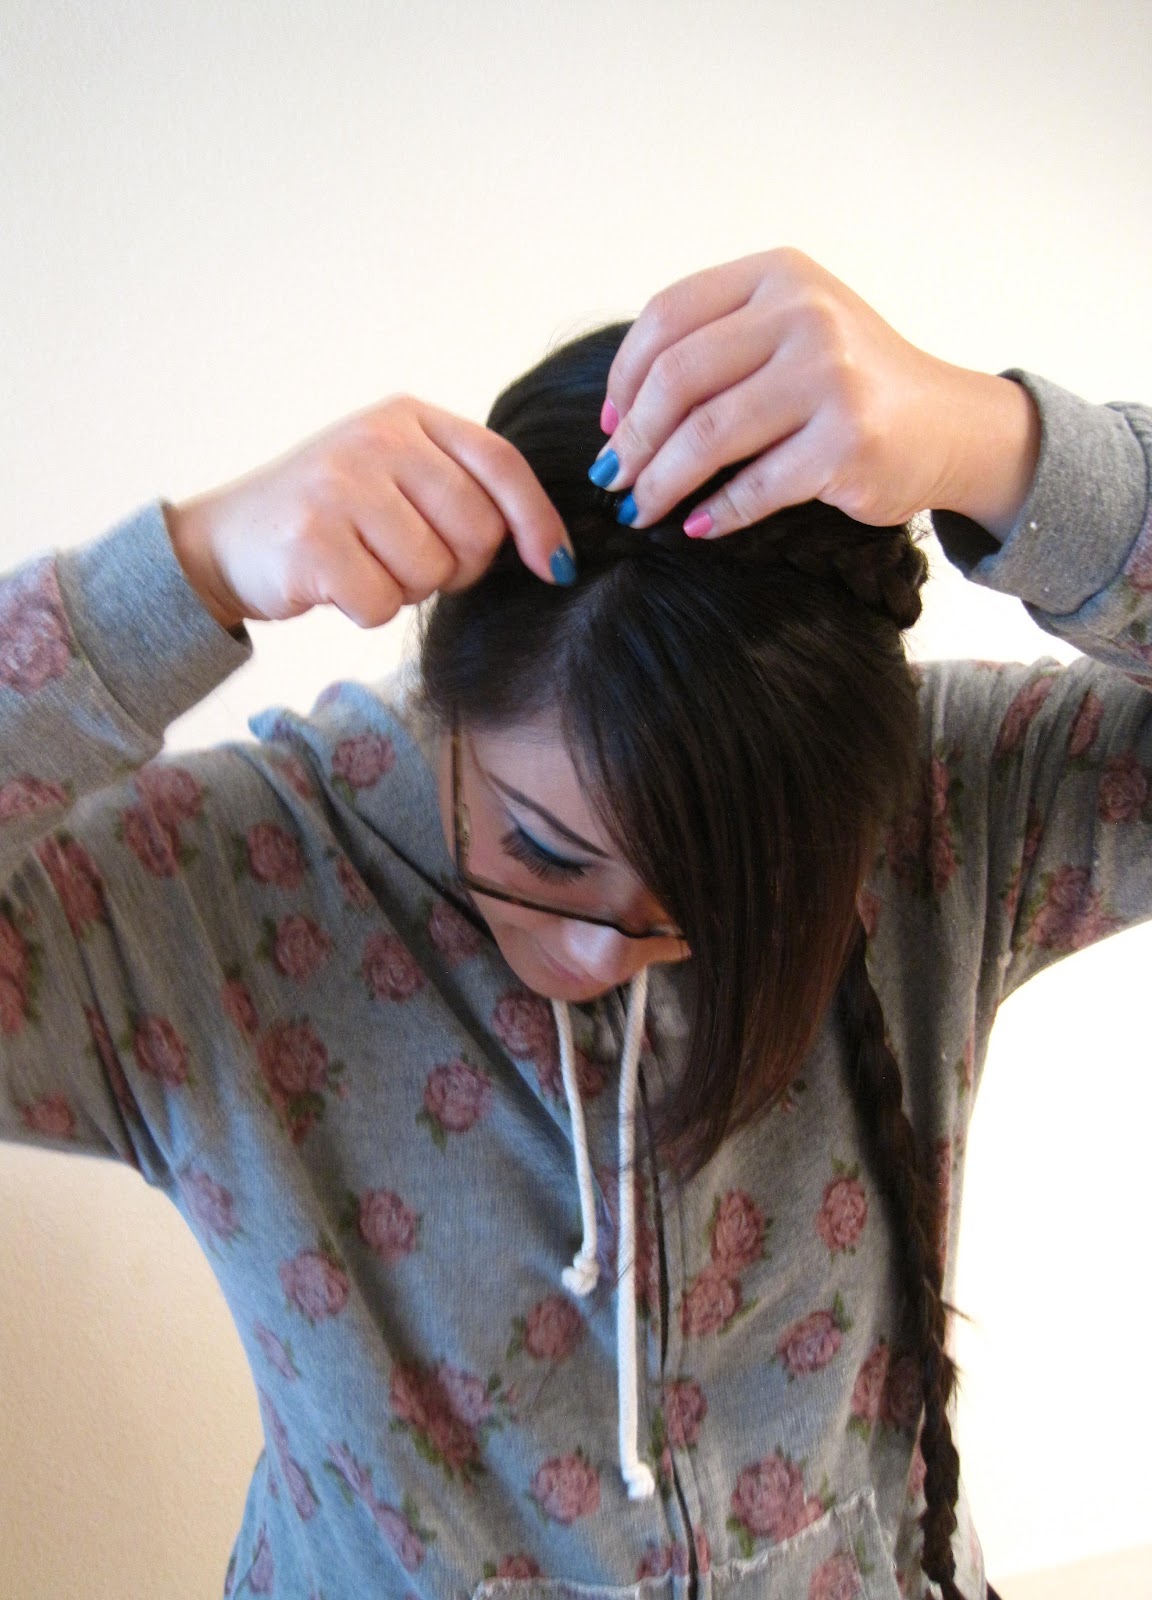
The final one is a continuation of Hairstyle #2. Once you braid your hair all together on the left side you simply take it and roll it into a loose bun by wrapping it around itself and securing it with elastic, bobby pins and a little hair spray!

You'll definitely want to make sure you have some soft face framing tendrils in the front otherwise it can look a little too stiff and prom-y lol.

You'll want to wrap it at the bottom side of the nape of your neck so you can see it slightly from the front.

This one would be perfect for those hot summer weddings! I didn't get a very good picture of this but it's very cute because it's like a traditional side bun but you can see little french braids woven throughout :)
3 different hairstyles that start out with the same foundation!
It would be perfect for spring/summer weddings, bridal showers.. and anytime you're feeling a little extra girly.
Tweet/Send me a picture if you try it I'd love to see it :)!